You blog because you want Internet users to discover your content and engage with it. But sometimes, your reach just isn’t large enough.
That’s why it’s good to diversify your content.
Creating more content and putting it in more places gives you as many views, readers, and customers as possible.
If you want to boost brand awareness and engagement, you need to be active on as many platforms as you can to spread your brand across the web.
That’s why most businesses use sites like Facebook, Twitter, Instagram, and LinkedIn in addition to their regular websites.
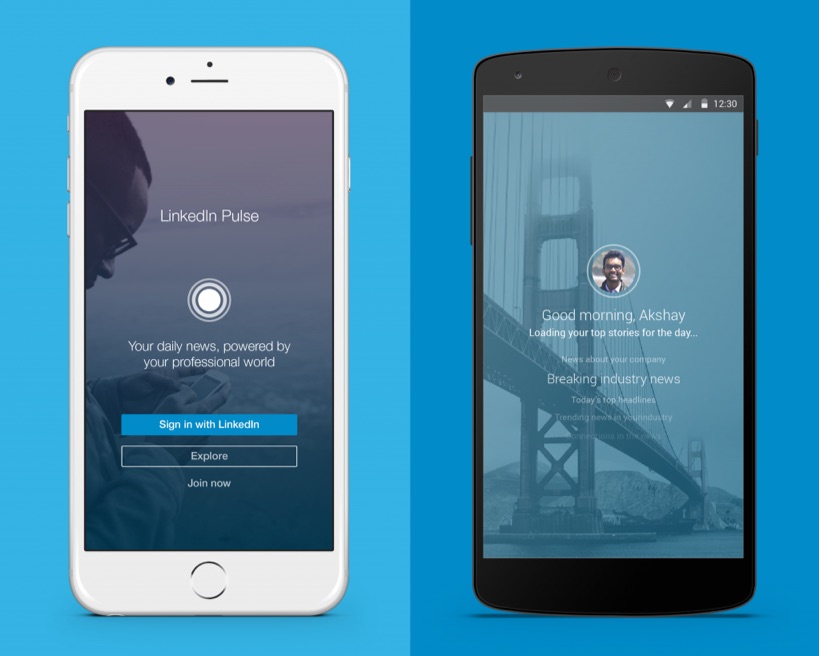
But some businesses are missing a huge opportunity to publish content because they don’t realize that they can post full articles to LinkedIn via LinkedIn Pulse.
There are tons of reasons why blogging with LinkedIn Pulse is a win for businesses. Here’s a complete guide to using and publishing on the platform along with actionable examples of how to do it.
What is LinkedIn Pulse?
If you want to build a good reputation online, increase your credibility, and reach a larger audience, publishing content on social media can help you do that.
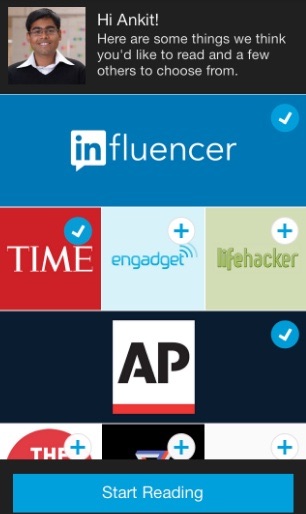
LinkedIn Pulse takes social media content a step further with an online news aggregation feed. Members can share self-publish content right to their audiences.
The platform generates blog posts, insights, and news from influential industry professionals and businesses looking to extend their reach and share insider knowledge.
LinkedIn tailors content to each individual based on their interests. That way, users only see the content that they want to see.
Content for the Pulse platform originally came from huge, well-known influencers. Now, all LinkedIn members can create and publish their own content for their followers.
If you’re a business or a thought leader, this is an easy and efficient way to build rapport. After all, most businesses are already using LinkedIn in some capacity.
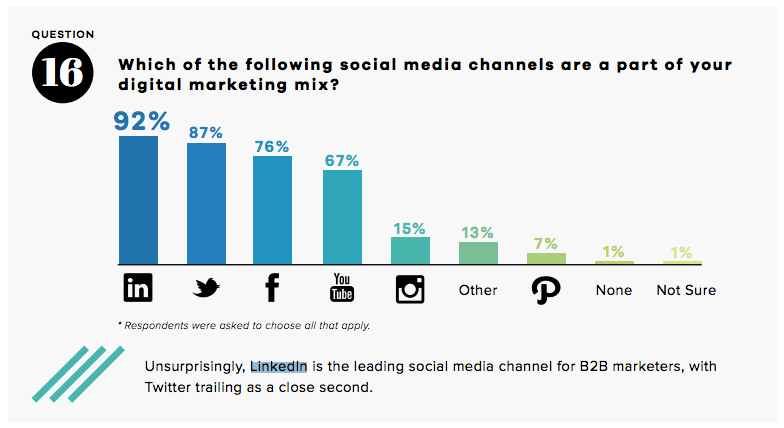
According to DemandWave, 92% of B2B marketers include LinkedIn in their digital marketing mix.
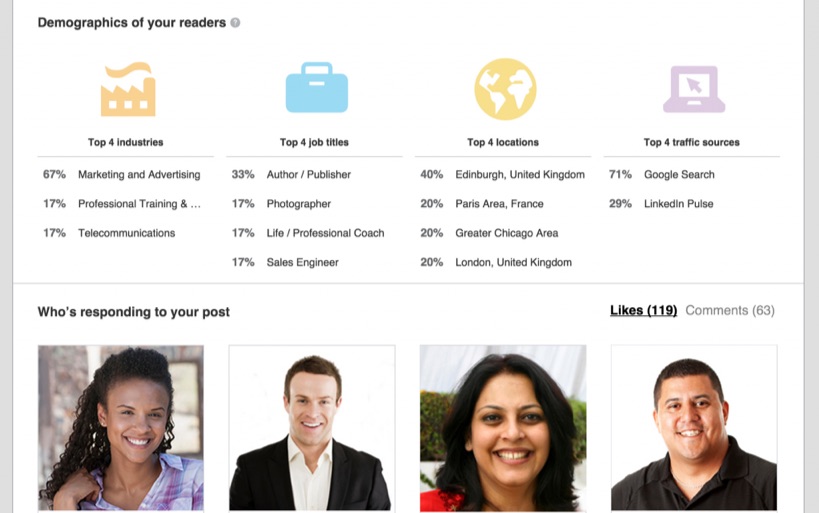
The platform also allows you to track the demographics of your readers to gain audience insights.
You can view the industries, job titles, and locations of your readers as well as the traffic sources that they are using to view your content.
If those features haven’t already convinced you that LinkedIn Pulse can help you boost brand awareness, then read on.
Reasons why you should use LinkedIn Pulse
You might be wondering, “What makes LinkedIn pulse better than other networks?” Or you might be thinking, “Why should I worry about posting to Pulse if I already have a blog?”
One of the largest advantages of Pulse is that the sole purpose of it is to help nurture and grow professional relationships.
Because of this, Pulse is great for helping you connect with your audience on a deeper level.
Connect with your audience
On LinkedIn, your audience isn’t just anyone. You know that your content is going to reach professionals at every level of many different kinds of businesses.
And you can leverage this content to boost your visibility across the web so that you can steer your audience toward any future content that you may list on your profile.
Just like any content that you post on the web, Pulse content can help you increase your search engine visibility.
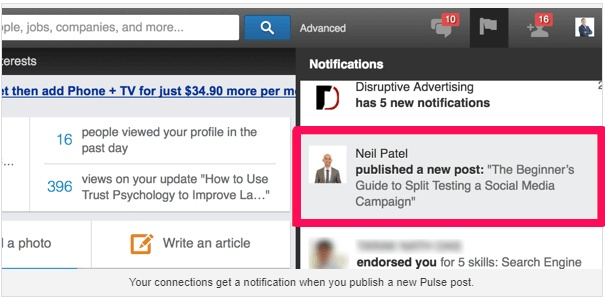
And LinkedIn will notify your connections every single time you publish a post. That way, your posts won’t get lost among the crowd.
Engage customers through useful content
LinkedIn Pulse is also great because it helps you engage customers through content that is genuinely useful.
This is possible because of the unique nature of LinkedIn. It’s a place where social and professional networking combine.
Professionals on the site are motivated to grow, learn, and consume. They want to grow and interact with a network, follow people and brands they’re interested in, and make connections.
How do users do this? They have to engage with others and deliver content that focuses on their goals.
If you create high-quality content, you can help your audience engage.
According to LinkedIn, 62 percent of members say that they engage with content because it is informative or educational. 61% say that they engage with content that is relevant to them.
If you post content that is relevant, inspiring, or educational, you’re bound to build an engaged customer base in no time.
But how does Pulse work, exactly?
How does LinkedIn pulse work?
Most of the content on the LinkedIn homepage feed comes from Pulse.
Pulse users receive weekly email digests containing new posts, and users publish more than 130,000 original articles every week.
There are mobile apps for both iOS and Android. To get started, users don’t need to follow topics or publishers.
They can just log in to LinkedIn to get personalized news based on their industry and connections.
The cards on the interface allow users to skim through tons of content and publishers quickly.
If users want to read a story at a later time, the app allows them to save it. Users can easily dismiss stories that they don’t like, and they can follow authors with the click of a button.
Each of these actions refines future recommendations.
LinkedIn sends notifications from the app based on what’s trending in a user’s field, the authors that they follow, and their previous actions on the platform.
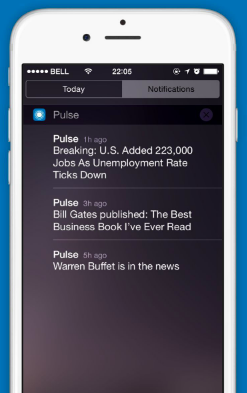
If a connection or industry influencer appears in the news, LinkedIn will notify users about the piece of content that mentioned them.
With Pulse, you can target readers with relevant stories based on their connections and professional footprints.
All you have to do is publish on the platform to get started making waves with your audience.
How to publish on LinkedIn Pulse to connect with your audience
Before you publish any kind of content, you need a game plan. What’s the big picture?
Do you want to share insider advice, strengthen your brand, interest recruiters, earn your spot as a thought leader, expand your network, or all of the above?
Step 1: Choose a message and start writing.
Once you know why you’re writing, you can choose a message and focus on who you’ll be writing to. Pick a clear, straightforward message.
Do you want to write tips for freelancers? Or maybe you want to write about the best practices for hiring new employees in order to appeal to those in management.
If you’re having trouble choosing a message, think back to what you’ve benefited from in your career.
What advice would you give someone entering your field? Where is the industry headed? Is there anything big going on in the news that is going to impact your line of work?
Once you have a topic or keyword, turn to Answer the Public to dwindle down potential angles.
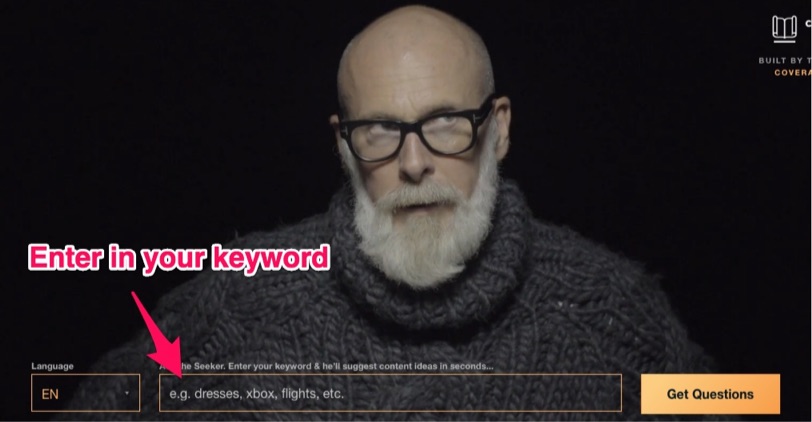
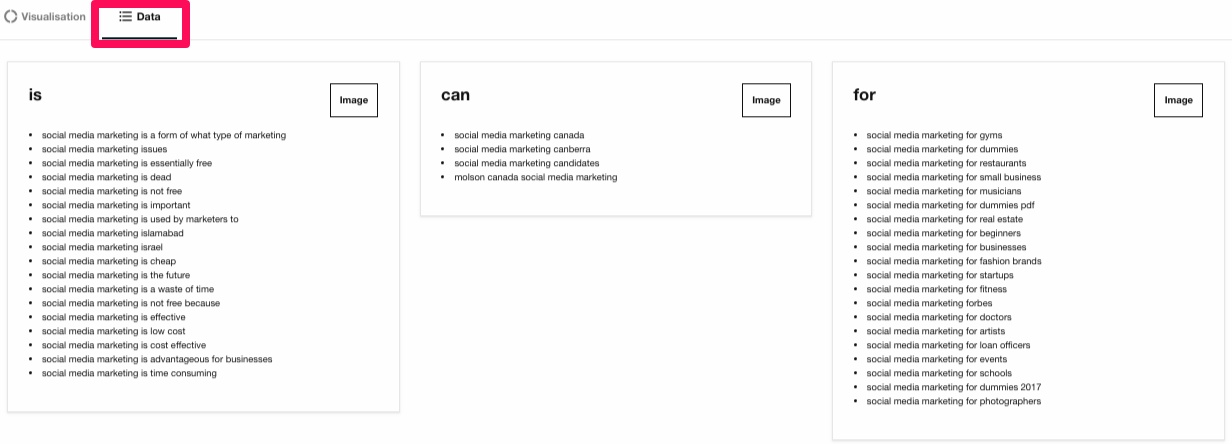
For example, say you want to write about social media marketing.
Just enter in the keyword, and the tool will recommend hundreds of ideas in the “why,” “are,” “how,” “where,” “which,” “who,” “what,” and “when” categories.
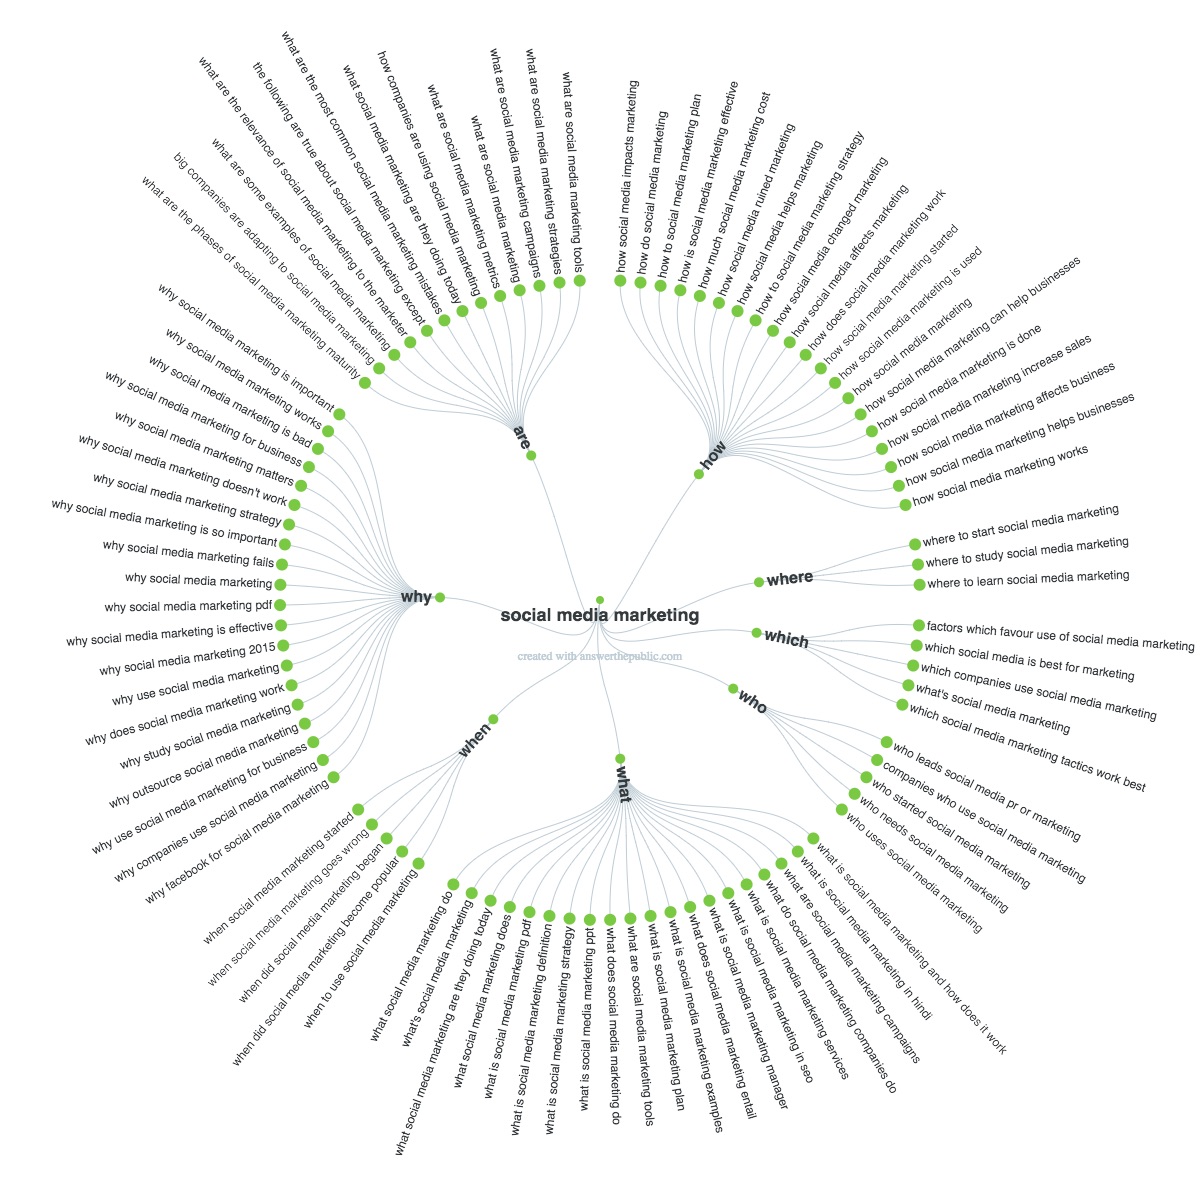
If you find it difficult to keep up with the visualization wheel, click the “Data” tab to see the content in organized boxes instead.
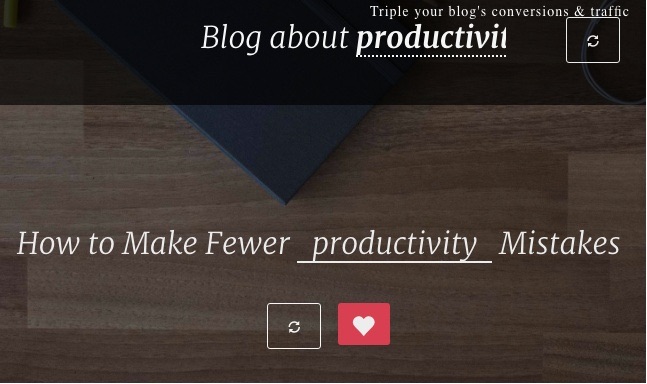
Another great tool for coming up with content ideas is the Blog Title Generator from BlogAbout. Just click the “Refresh” button until you find a theme you like.
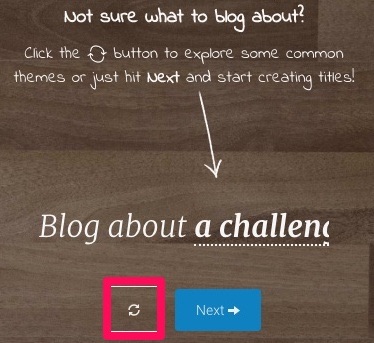
Hit “Next” when you’re ready to focus on creating the title for your new post.
Once you have your topic ready to go, you can begin writing. Once you’re done writing, you’ll need to add an image.
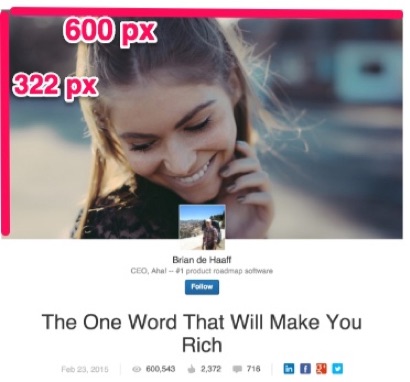
Step 2: Create and add an image.
All Pulse posts allow you to upload a header image. The best size to upload is 600 x 322 pixels (or double that size at 1200 x 644 pixels).
If your photo is larger, you can drag and reposition it to fit the header space more effectively.
You can use free, high-resolution stock photos. Or, if you want to be more creative, you can create your own.
It’s easy to create custom blog graphics with Canva.
Just sign up for an account or log in if you already have one.
Then, click on the “Use custom dimensions” button. Canva doesn’t have a template for LinkedIn blog images yet, so you’ll need to manually enter your desired dimensions here.

Next, use a free photo that Canva provides or upload your own image. Scale it to fit the space correctly and try out a few filters.
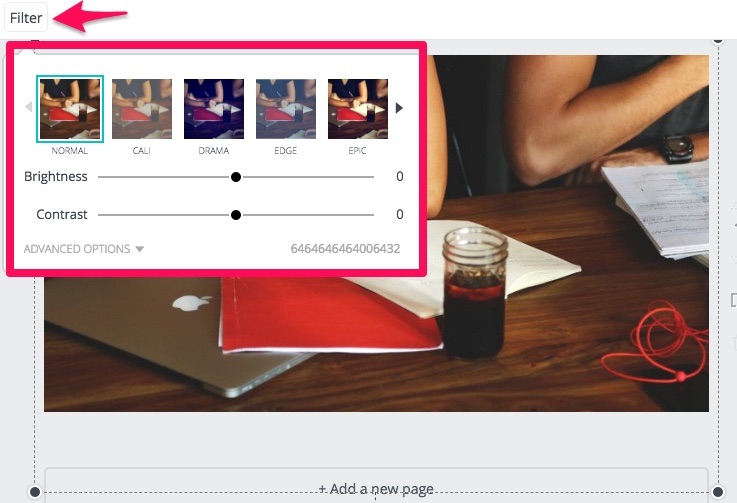
If you want, you can even add the text (such as the title of your post), enter in some graphics (like your logo), or add a few icons.
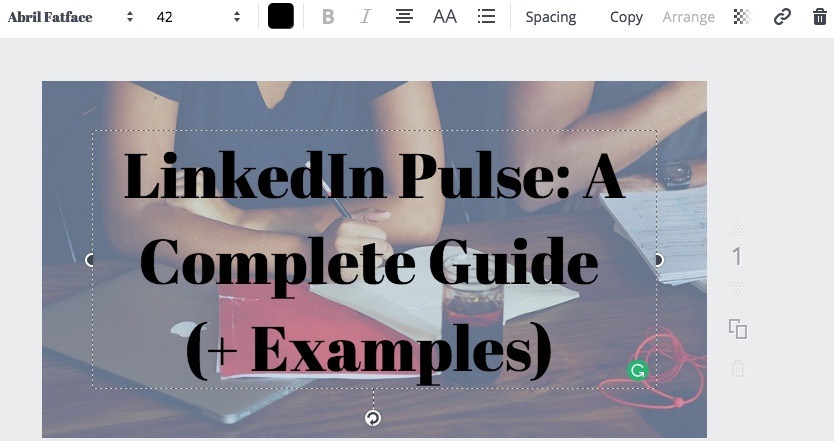
Once you’re done, go ahead and download the image. From there, upload it to LinkedIn.
You’ll need an eye-catching headline to accompany your image.
Step 3: Write your headline.
Aside from your photo, your headline is one of the most vital aspects of a successful Pulse post.
This is what readers will look at to decide if they’re interested in what you have to say.
Write a concise, interesting headline that uses keywords that are relevant to your post.
Use numbers, facts, and statistics to create the impression of authority.
Use powerful word choice to pull readers in. Intrigue readers with words like “amazing” or “fascinating.” Create drama with words like “kill,” “fear,” or “death.”
Keep things short, sweet, simple, and to the point. If your headlines are too long, save some of the information for your introduction.
Now, you’re ready to finalize your post.
Step 4: Finalize the post.
You have your image, headline, and content where you want them. Next, you should finalize your article.
The “Publish” button is in the upper right-hand corner of your screen. Before you press it, make sure that you’ve formatted your post correctly.

Add in block quotes, bullet points, images, or
source https://blog.kissmetrics.com/linkedin-pulse/
No comments:
Post a Comment